Navigation
Now lets finally control the robot and let it drive automatically between the waypoints.
You can find the code here:
This is how it works:
- connect to vision server
- connect to mqtt server
- main loop starts
- pull data from vision server
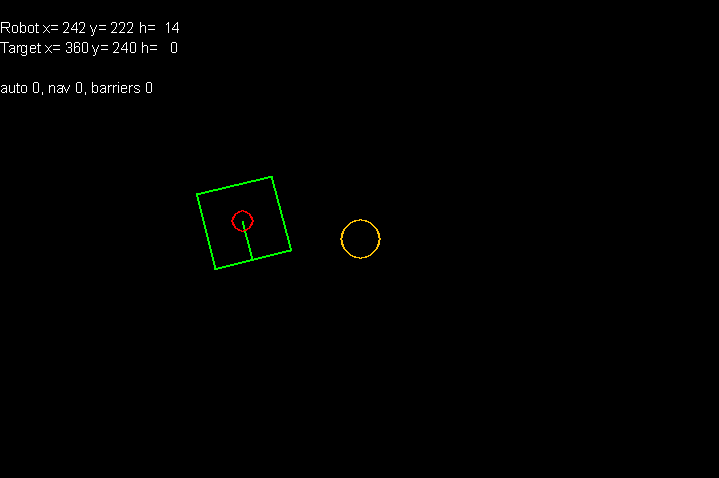
- find marker that is on the robot ( in my case markerID = 333 )
- calculate heading to the target
(robot_heading_to_target = math.atan2((current_target_position[0] — robot_center_position[0]), (current_target_position[1] — robot_center_position[1])) # in radians)- use PID controller to rotate the robot in the direction of the target ( it tries to make robot heading equal to heading to target, pid_left_right.setpoint = robot_heading_to_target )
- use another PID to drive forward
- if distance to target is less than waypoint radius switch to the next waypoint
- main loop ends
As I already said I never used Python before so the code is not perfect and few things doesn’t work as they should.
Buttons:
a — auto — enables control of the robot
n — navigation ON
w — add waypoint
b — enable borders
This is how it looks like working.

Please I how can I implement the Arucoandroidserver actually I have no clue what of if I use Astar algorithm for the path planning, how can I localized the robot