Main goals of the project:
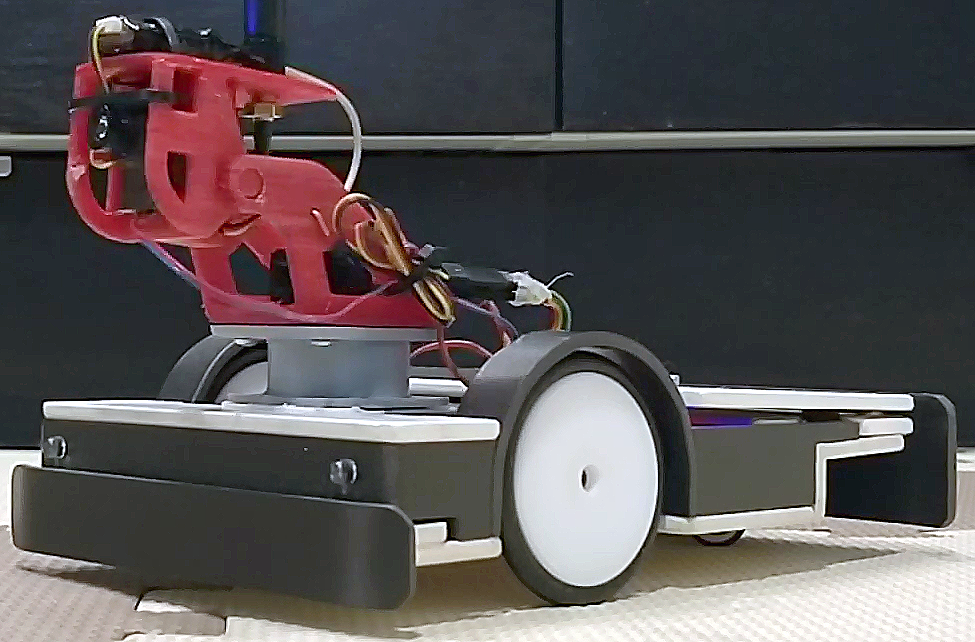
- Simple to make and cheap robot platform
- Robot controlled easily from Internet through an Android app
- Robot should be able to navigate between waypoints
- Vision based positioning system
- Time restrictions: one weekend
I always wanted to do something like this and finally I had the knowledge and time.
The goal is to make a robot to navigate from waypoint to waypoint based on some kind of positioning system.
For a long time I planned to use marker based tracking and a webcam so this is perfect opportunity to do it. I’ve chosen aruco markers. Why aruco markers? Because they are easy to detect and track using OpenCV, position has sub-pixel accuracy and calculate marker attitude is easy if needed.
Now, when I have robot working and under my control lets make it to drive around by itself. I want to use aruco markers like this one:
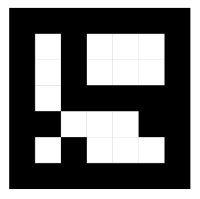
The tools for finding and tracking these markers already exists in OpenCV (Open source computer vision) library which I plan to use.
Python is the language of my choice as it is very popular right now and I have to finally check it out. So please keep in mind that I haven’t got any experience with Python before and my code probably doesn’t look very good.
To see where the markers are I needed a camera and it must be wireless as I don’t want new wires on my ceiling. But the IP camera that I have doesn’t give very good picture. So I thought I can use my Android phone as a webcam. After trying few apps from Google Play Store I settled on this one: IP Webcam. The app is great it has everything I wanted. I started to play with Python and OpenCV and in a short while I was able to take a video from my phone that was send by IP Webcam app and display it on my laptop screen and find aruco markers! It worked well enough. The only problem I had was latency. Capturing the image on the phone, compressing it, sending through WiFi network and receiving, decompressing, processing on PC takes time. It wasn’t bad and this solution was still usable but I think that I found better one.
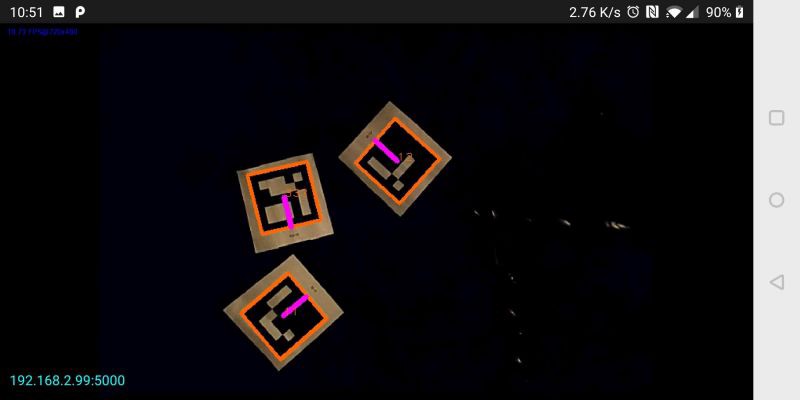
Why not do all image processing on the phone? New phones (even older ones) are perfectly capable to process video and find aruco markers. When image processing is done on the phone, just the position of a marker has to be sent over network. And the ArucoAndroidServer was born.
ArucoAndroidServer Link to heading
The app finds the aruco markers on the video from camera. And each time you send ‘g’, it responds with aruco marker position in JSON format:
{
  "aruco": [
    {
      "ID": 2,
      "center": {
        "x": 266,
        "y": 259
      },
      "heading": -3.1150837133093243,
      "markerCorners": [
        {
          "x": 129,
          "y": 125
        },
        {
          "x": 396,
          "y": 129
        },
        {
          "x": 402,
          "y": 381
        },
        {
          "x": 137,
          "y": 401
        }
      ],
      "size": 267
    }
  ]
}
Test script Link to heading
The navigation will be done on PC. I used Python.
Lets test our vision server.
Simple Python code to get marker data:
try:
    s = ""
    vision_server_client.send("g".encode())  # send 'g' to get response
    clock.tick(5)
    s = vision_server_client.recv(10000)  # there must be a better way to do this
    markersDict = json.loads(s.decode())
except:
    continue

aruco_markers = markersDict["aruco"]

for m in aruco_markers:
    x = int(m['center']['x'])
    y = int(m['center']['y'])
    s = int(m['size'])
    h = (m['heading'])
    marker_id = int(m['ID'])
    corners = m['markerCorners']

    try:
        xm, ym, zm, roll_marker, pitch_marker, yaw_marker = getMarkerAttitude(corners, 10)  # for extra info, openCV needed
    except:
        pass
And we can draw markers:
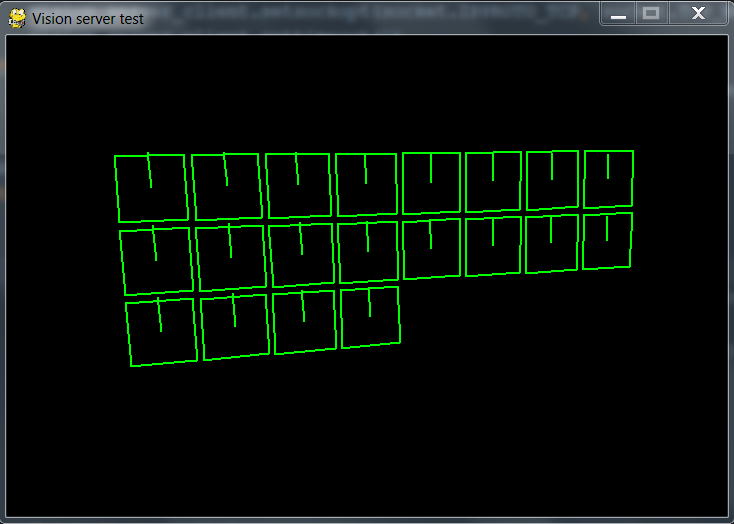
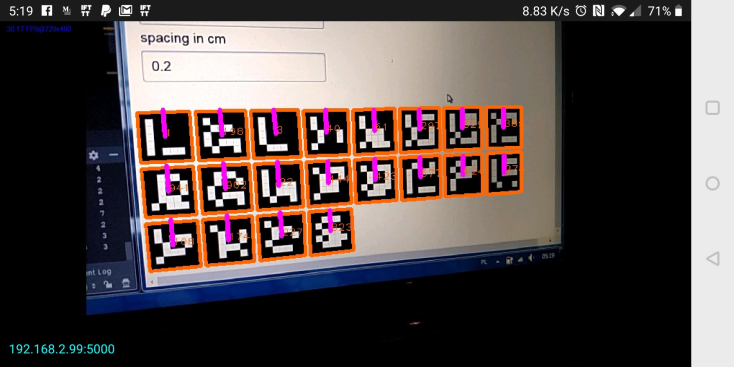
Everything seems to be working fine.
Complete Python code is here: GitHub
Navigation Link to heading
Now lets finally control the robot and let it drive automatically between the waypoints.
You can find the code here: GitHub
This is how it works:
- connect to vision server
- connect to mqtt server
- main loop starts
- pull data from vision server
- find marker that is on the robot (in my case markerID = 333)
- calculate heading to the target
robot_heading_to_target = math.atan2((current_target_position[0] — robot_center_position[0]), (current_target_position[1] — robot_center_position[1])) # in radians)
- use PID controller to rotate the robot in the direction of the target (it tries to make robot heading equal to heading to target, pid_left_right.setpoint = robot_heading_to_target)
- use another PID to drive forward
- if distance to target is less than waypoint radius switch to the next waypoint
- main loop ends
As I already said I never used Python before so the code is not perfect and few things doesn’t work as they should.

Buttons:
- a — auto — enables control of the robot
- n — navigation ON
- w — add waypoint
- b — enable borders
This is how it looks like working.